Introduction
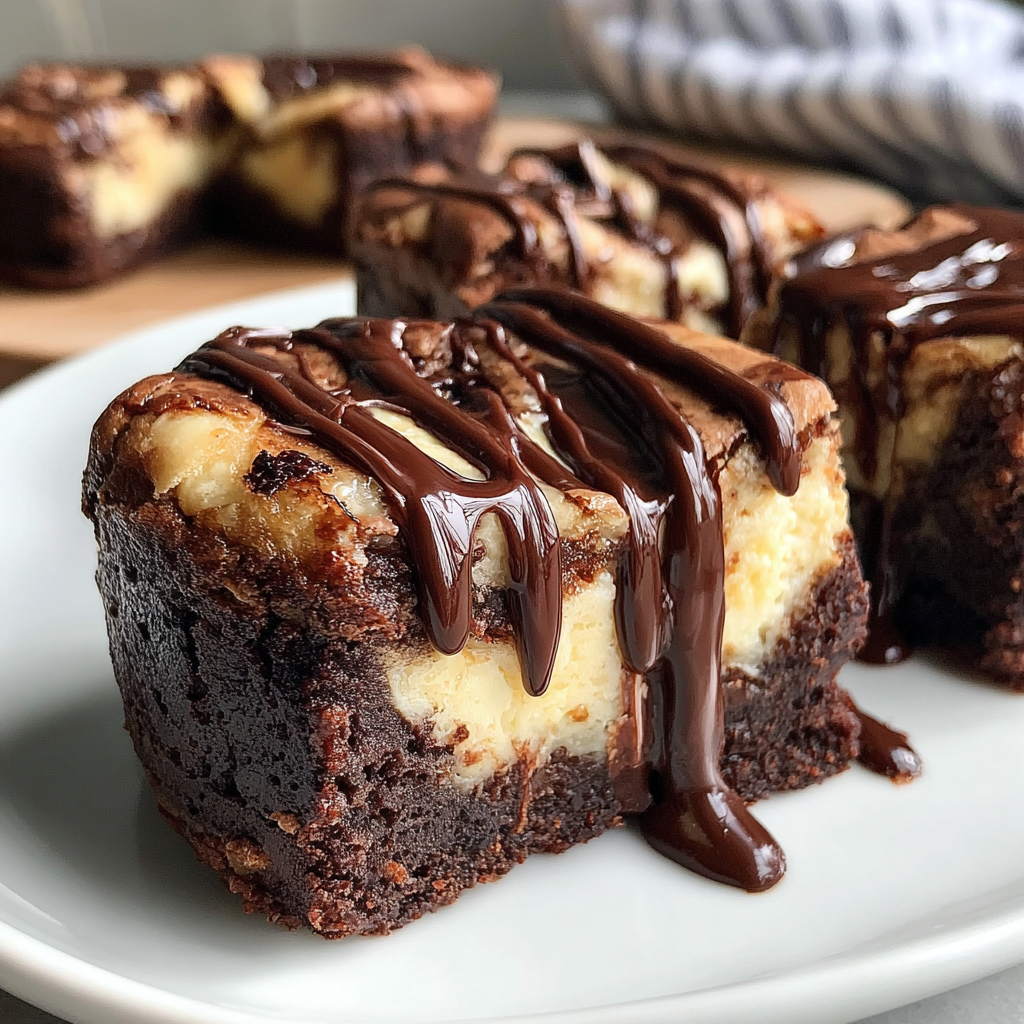
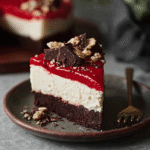
There's something undeniably enchanting about red velvet cheesecake—a dessert that merges the rich, velvety flavor of red velvet cake with the creamy, tangy goodness of cheesecake. Perfect for special occasions or just an indulgent treat at home, this recipe promises to excite your taste buds and elevate your dessert game.
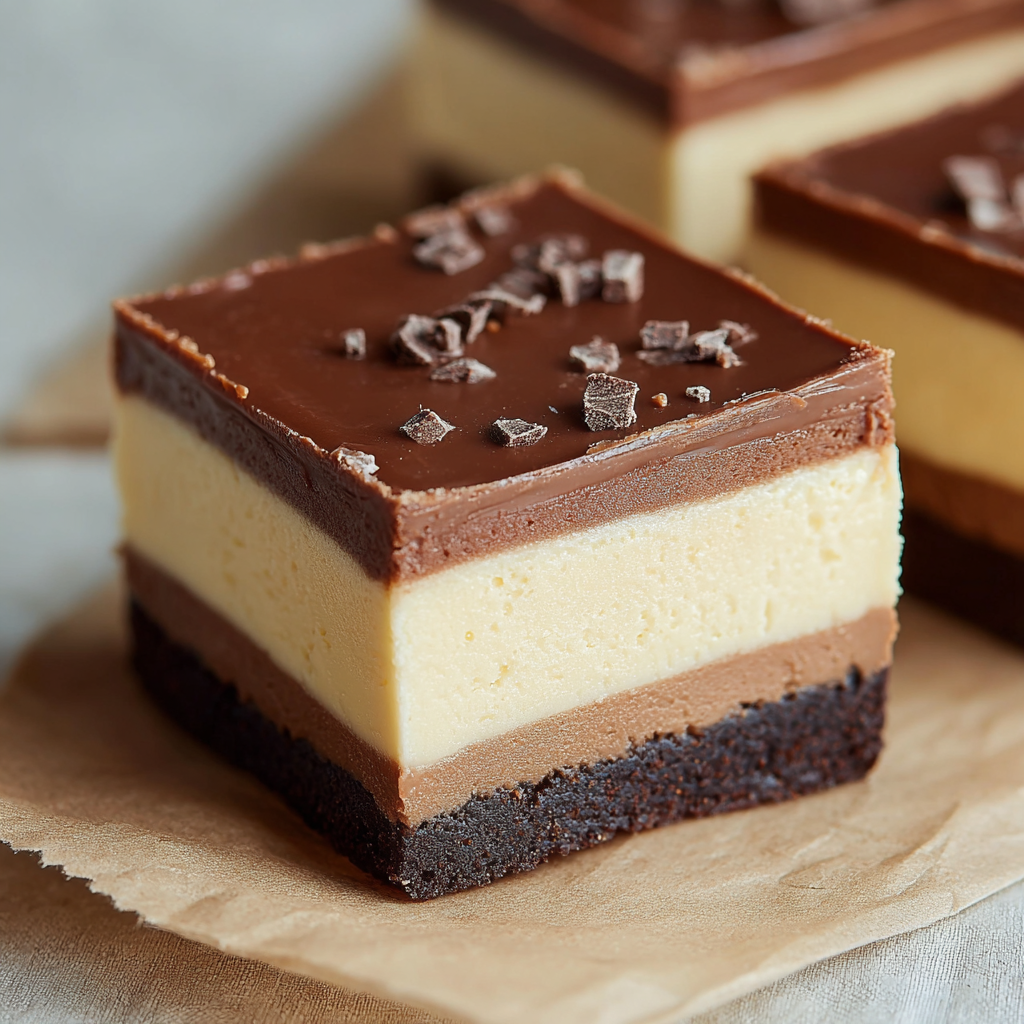
Red velvet cheesecake features a beautiful crimson hue, making it as visually stunning as it is delicious. The layers harmonize beautifully, providing a delightful contrast of textures and flavors that leave a lasting impression. Once you dive into a slice, you’ll understand why this dessert has captured the hearts of so many.
Ingredients
- 2 cups all-purpose flour
All-purpose flour provides structure to the cake layer and helps it rise. It balances the moisture from the wet ingredients and gives the cheesecake a sturdy base. - 2 cups granulated sugar
Sugar not only sweetens the cake and cheesecake but also impacts the texture, providing a tender crumb to the cake layer. - 1 teaspoon baking soda
Baking soda serves as a leavening agent that helps the cake layer rise and become fluffy, contributing to its light texture. - 1 teaspoon cocoa powder
Cocoa powder adds just a hint of chocolate flavor, which is characteristic of red velvet cake, giving depth without overpowering the flavors. - 1 teaspoon salt
Salt enhances the overall flavor of the dish, balancing the sweetness and highlighting the other ingredients. - 1 cup vegetable oil
Vegetable oil adds moisture to the cake, ensuring that it remains tender and rich after baking. It also helps to preserve freshness. - 1 cup buttermilk
Buttermilk provides acidity, which reacts with baking soda to create a tender crumb while also adding a subtle tangy flavor. - 3 large eggs
Eggs act as a binding agent, adding structure and stability to both the cake and the cheesecake layers. - 2 tablespoons red food coloring
Red food coloring is essential for achieving the signature red hue associated with red velvet desserts, making it visually striking. - 1 teaspoon vanilla extract
Vanilla adds a warm, aromatic flavor that complements the cake and cheesecake layers beautifully. - 16 oz cream cheese, softened
Cream cheese is the star of the cheesecake layer, providing its rich, creamy texture and tangy flavor. - 1 cup sour cream
Sour cream adds creaminess and a slight tartness to the cheesecake, enhancing its flavor and texture. - 1 cup powdered sugar
Powdered sugar sweetens the cheesecake without adding graininess, ensuring a smooth and creamy consistency. - 2 teaspoons lemon juice
Lemon juice introduces brightness to the cheesecake, balancing its richness with a subtle hint of acidity. - 1 cup whipping cream, for topping
Whipping cream is used for the topping, adding lightness and a luxurious finish that complements the tartness of the cheesecake.
Directions & Preparation
Step 1: Preheat the oven to 350°F (175°C). Grease and flour a springform pan.
Preheating the oven is crucial for ensuring even cooking throughout the cake. Greasing and flouring the pan helps prevent sticking, which is vital for successfully removing the cheesecake once it’s baked.
Step 2: In a bowl, combine the flour, sugar, baking soda, cocoa powder, and salt.
Mixing the dry ingredients first ensures that they are evenly distributed, which helps the cake rise uniformly. This foundational step sets the tone for the texture of the cake layer.
Step 3: In another bowl, whisk together the oil, buttermilk, eggs, food coloring, and vanilla extract.
Combining these wet ingredients separately allows for a thorough amalgamation, offering a rich flavor profile and ensuring the red color is well-integrated throughout the batter.
Step 4: Gradually add the wet ingredients to the dry mixture, stirring gently until just combined.
Being careful not to overmix is key here; overmixing can lead to a dense, tough cake. The goal is a smooth batter without lumps, which indicates proper mixing.
Step 5: Pour the batter into the prepared springform pan and smooth the top.
Pouring the batter and smoothing it creates an even surface for baking, which is essential for the final presentation of your cheesecake. This step ensures uniformity in baking.
Step 6: Bake in the preheated oven for 30-35 minutes, or until a toothpick inserted comes out clean.
Monitoring the baking time helps prevent overcooking, which could dry out your cake. A toothpick should come out with a few moist crumbs for the perfect cake texture.
Step 7: While the cake layer cools, prepare the cheesecake filling by beating the cream cheese until smooth.
Beating the cream cheese before adding other ingredients helps achieve a creamy filling without lumps, which is essential for a smooth texture in the final cheesecake.
Step 8: Add in the sour cream, powdered sugar, and lemon juice, and mix until well combined.
Incorporating these ingredients enhances the smoothness and flavor of the cheesecake. The sour cream adds tanginess while sugar sweetens the mixture.
Step 9: Carefully pour the cheesecake filling over the cooled cake layer in the springform pan.
Pouring the cheesecake layer slowly allows it to spread evenly over the cake. Be gentle to avoid disturbing the cake layer underneath, ensuring both textures maintain their integrity.
Step 10: Bake for an additional 50-60 minutes, until the edges are set but the center jiggles slightly.
This step requires precision. The jiggle in the center indicates that the cheesecake is perfectly cooked, as it will continue to firm up as it cools.
Step 11: Turn off the oven and crack the oven door, allowing the cheesecake to cool inside for an hour.
Cooling the cheesecake gradually in the oven prevents cracks from forming on the surface. It’s a critical step to ensure a beautiful presentation.
Step 12: Remove from the oven, allow to cool completely at room temperature, then refrigerate for at least four hours.
Cooling at room temperature first before refrigeration prevents condensation, preserving the texture. Chilling helps firm up the cheesecake, making it easier to cut into slices.
Step 13: Whip the cream and pipe or spread it on top before serving.
The whipped cream provides a light, airy finish to the dense cheesecake, offering a delightful contrast in texture and freshness. This step enhances both presentation and flavor.

The Perfect Pairing of Flavors
Red velvet and cheesecake may seem like an unexpected combination, but they complement each other in an extraordinary way. The slight bitterness of cocoa enhances the sweet tang of cream cheese, creating a harmonious blend that tantalizes the palate. This duality of flavors is why red velvet cheesecake stands out on any dessert table.
Achieving the Ideal Red Color
The vibrant red hue is integral to red velvet desserts, and the food coloring is vital for achieving this signature look. However, quality matters; using gel food coloring can provide a more concentrated and rich color without adding too much liquid to the batter, ensuring the right consistency while yielding that eye-catching shade.
Tips for a Creamy Texture
For a velvety smooth cheesecake, it’s important to have your cream cheese at room temperature before mixing. Cold cream cheese can result in lumps that detract from the buttery texture you desire. Also, blend slowly to combine, which keeps the air from incorporating, leading to a more dense, cheesecake layer.
FAQs
What if my cheesecake cracks during baking?
Cracking can result from sudden temperature changes. To prevent this, cool your cheesecake slowly in the oven after baking, and avoid overbaking it.
How can I make the cheesecake more flavorful?
To deepen the flavor, consider adding a bit more vanilla extract or even a splash of almond extract, which pairs beautifully with the cream cheese.
What if my cake layer is too dry?
If your cake turns out dry, it may have been overbaked. Next time, check for doneness a few minutes early and keep an eye on the texture.
Can I use homemade cream cheese in this recipe?
Yes, homemade cream cheese can be used. Just ensure that it's properly blended to achieve the same creamy consistency as store-bought.
Is there a way to scale this recipe for a smaller serving?
You can halve the ingredients and bake in a smaller pan, but adjust the baking time, as it will likely shorten.
How can I enhance the visual appeal of my cheesecake?
Consider adding fresh berries or chocolate shavings on top of the whipped cream for a pop of color and an appealing look.
What can I do if my cheesecake filling is too thick?
If the filling is too thick, you can add a tablespoon of milk or cream, mixing it in gradually to achieve the desired consistency.
How can I make a colorful drizzle for presentation?
You can create a vibrant drizzle by mixing food coloring with some melted white chocolate to contrast against the red of the cake.
Conclusion
Crafting a red velvet cheesecake is more than just making a dessert; it's about creating a centerpiece that invites joy and celebration. The interplay of the rich velvety cake and the smooth, tangy cheesecake creates a memorable experience for anyone who enjoys it.
With the right techniques and ingredients, you can produce this impressive dessert right in your kitchen. So gather your supplies and get started—your next indulgent treat awaits!
Recipe Card
Indulge in a Luxurious Red Velvet Cheesecake
Ingredients
- 2 cups all-purpose flour
- 2 cups granulated sugar
- 1 teaspoon baking soda
- 1 teaspoon cocoa powder
- 1 teaspoon salt
- 1 cup vegetable oil
- 1 cup buttermilk
- 3 large eggs
- 2 tablespoons red food coloring
- 1 teaspoon vanilla extract
- 16 oz cream cheese softened
- 1 cup sour cream
- 1 cup powdered sugar
- 2 teaspoons lemon juice
- 1 cup whipping cream for topping
Instructions
- Preheat the oven to 350°F (175°C). Grease and flour a springform pan.
- In a bowl, combine the flour, sugar, baking soda, cocoa powder, and salt.
- In another bowl, whisk together the oil, buttermilk, eggs, food coloring, and vanilla extract.
- Gradually add the wet ingredients to the dry mixture, stirring gently until just combined.
- Pour the batter into the prepared springform pan and smooth the top.
- Bake in the preheated oven for 30-35 minutes, or until a toothpick inserted comes out clean.
- While the cake layer cools, prepare the cheesecake filling by beating the cream cheese until smooth.
- Add in the sour cream, powdered sugar, and lemon juice, and mix until well combined.
- Carefully pour the cheesecake filling over the cooled cake layer in the springform pan.
- Bake for an additional 50-60 minutes, until the edges are set but the center jiggles slightly.
- Turn off the oven and crack the oven door, allowing the cheesecake to cool inside for an hour.
- Remove from the oven, allow to cool completely at room temperature, then refrigerate for at least four hours.
- Whip the cream and pipe or spread it on top before serving.
Notes
Additional serving suggestions: pair with a crisp salad, garlic bread, or roasted seasonal vegetables for balance.
For make-ahead, prep components separately and assemble just before heating to preserve texture.
Taste and adjust with acid (lemon/vinegar) and salt right at the end to wake up flavors.