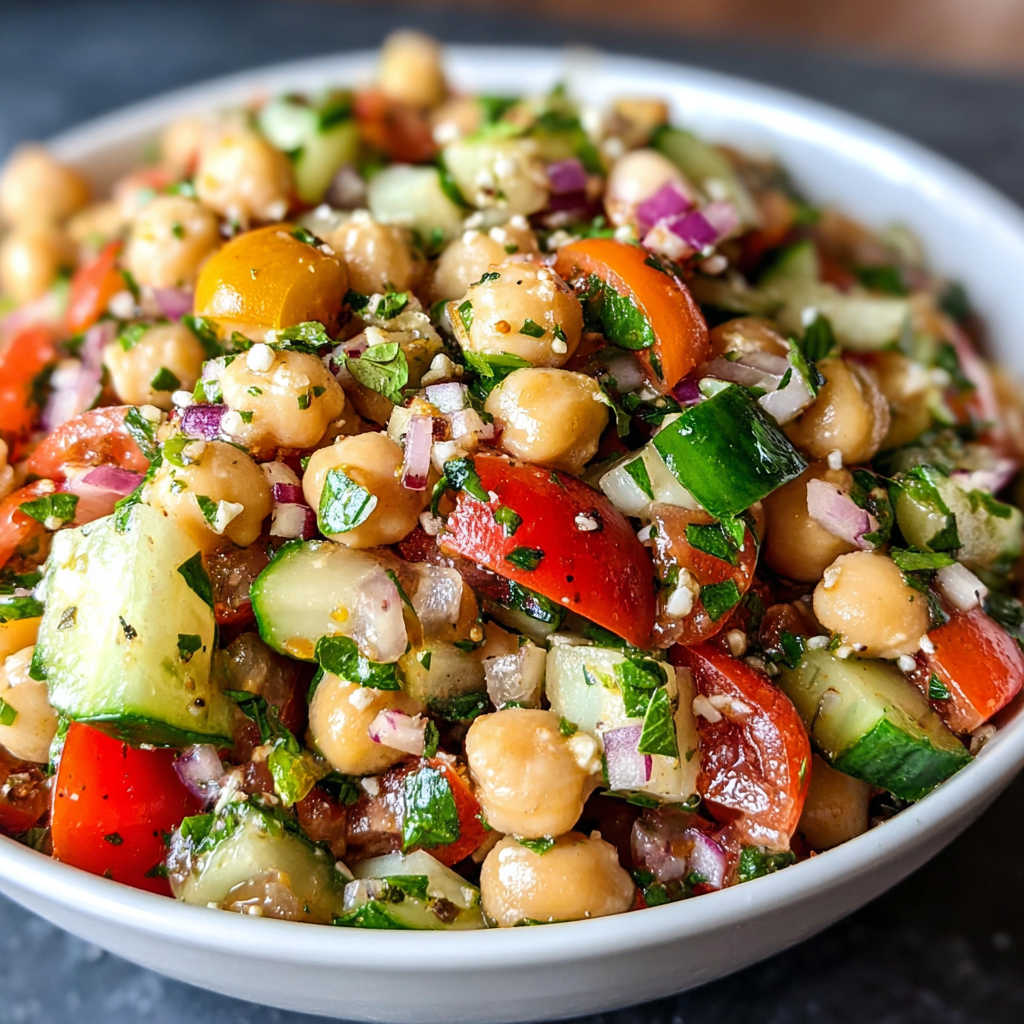
Introduction
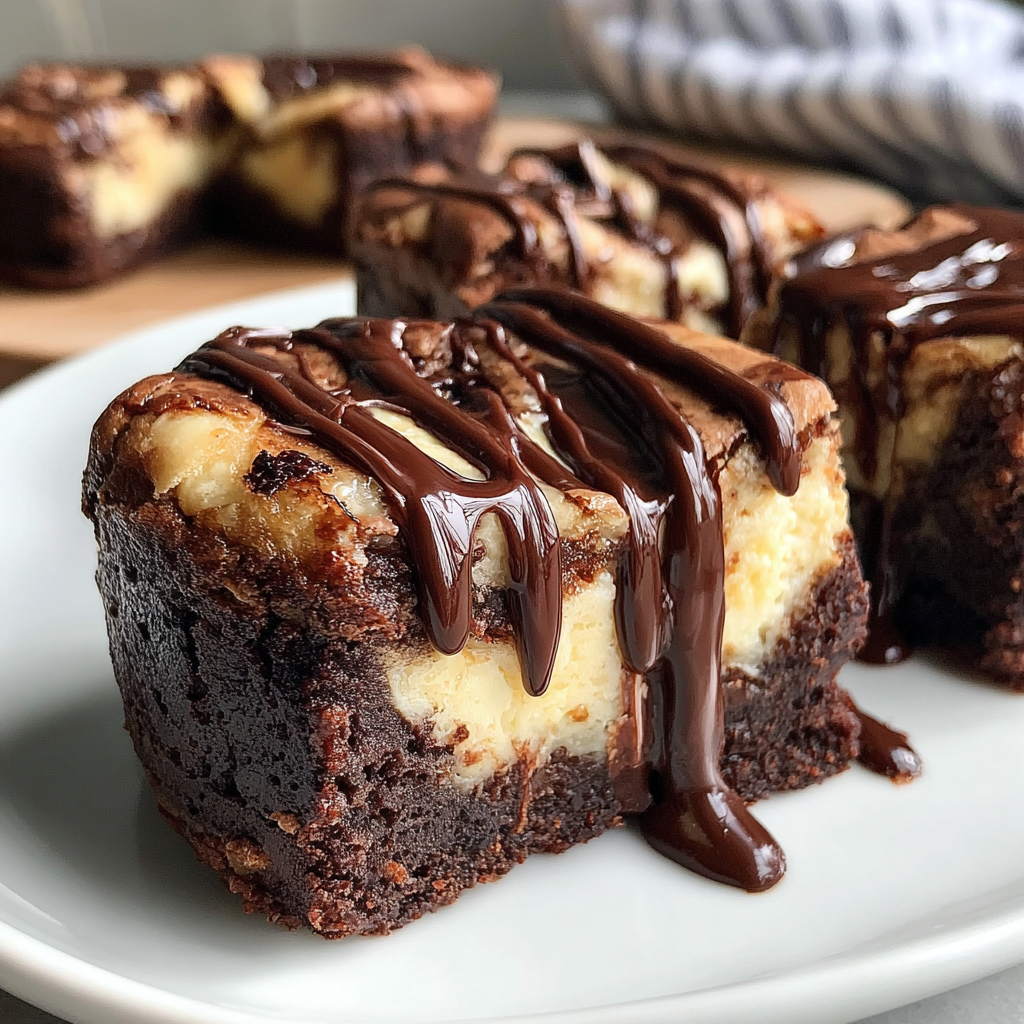
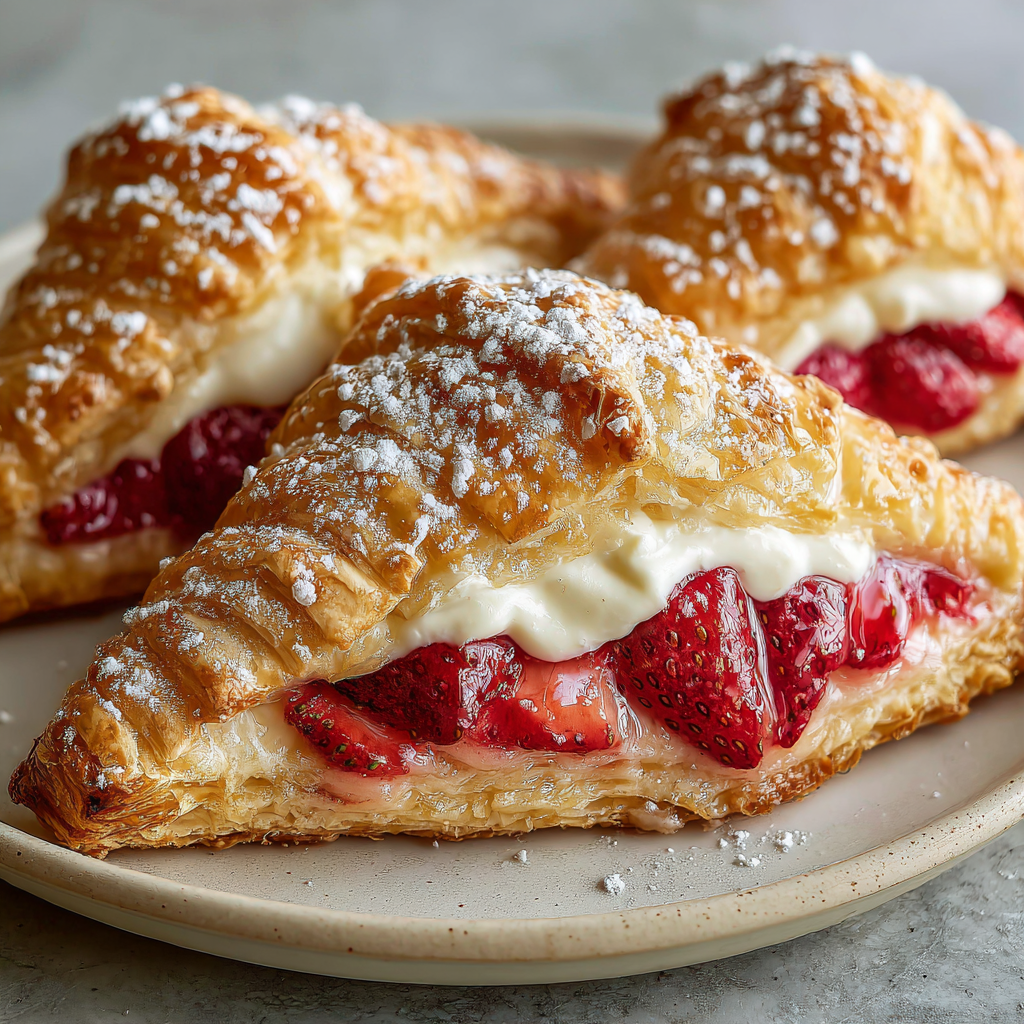
Strawberry cheesecake turnovers are a delightful blend of flaky pastry and creamy filling, perfect for anyone who loves the classic dessert. With their golden crust and sweet, fruity interior, these turnovers create a burst of flavor in every bite. They make for an excellent treat at gatherings or a sweet ending to a weeknight dinner.
The beauty of turnovers lies not only in their deliciousness but also in their versatility. You can enjoy them warm, fresh out of the oven, or at room temperature. This well-loved dessert is incredibly satisfying without requiring the precision of traditional cheesecake making, making it accessible to home cooks of all levels.
Ingredients
- 1 sheet of puff pastry
Puff pastry serves as the flaky outer layer of the turnover. Its multiple layers create a light, airy texture when baked, giving a nice crunch that complements the creamy filling. - 1 cup fresh strawberries, diced
Fresh strawberries bring natural sweetness and a vibrant flavor, contrasting beautifully with the rich cream cheese. The juiciness of the berries also ensures that the filling stays moist. - 4 oz cream cheese, softened
Cream cheese provides the rich, creamy base for the filling, essential for achieving that comforting cheesecake flavor. Its smooth texture binds well with the strawberries, creating a luscious filling. - 1/4 cup sugar
Sugar sweetens the cream cheese and strawberries, balancing the tartness of the berries. It also helps create a lovely golden color on the outside when baked. - 1 tsp vanilla extract
Vanilla extract enhances the overall flavor profile of the filling, lending a warm, comforting essence that elevates the taste of the cream cheese and strawberries. - 1 egg, beaten
The beaten egg acts as an egg wash to give the turnovers their beautiful golden color when baked. It also helps seal the edges of the pastry. - Pinch of salt
A pinch of salt adds depth to the sweetness, enhancing the overall flavor of the filling and balancing the richness of the cream cheese.
Directions & Preparation
Step 1: Prepare the puff pastry
Start by thawing the puff pastry as per the package instructions. It's crucial to ensure it's pliable for easy handling and shaping. Working with chilled pastry allows for perfect layering, making it rise beautifully in the oven.
Step 2: Make the filling
In a mixing bowl, combine softened cream cheese, diced strawberries, sugar, vanilla extract, and salt. Mix until smooth but leave some strawberry pieces for texture. This step creates a well-balanced filling that captures the essence of both cheesecake and strawberries, enhancing the flavor.
Step 3: Roll out the pastry
On a floured surface, roll out the puff pastry to about 1/8 inch thick. This evenly rolled pastry ensures that your turnovers bake uniformly and rise adequately, contributing to a crisp texture.
Step 4: Cut the pastry into squares
Cut the rolled pastry into squares, ideally about 4 inches by 4 inches. These squares will serve as the bases for your turnovers. Adequate size is essential for folding without spilling the filling while keeping a good balance of pastry to filling.
Step 5: Fill the pastries
Spoon a generous tablespoon of filling onto one half of each square, leaving a small edge for sealing. Overfilling can cause the pastries to burst, while too little may lead to lack of flavor. Aim for just the right amount.
Step 6: Seal the turnovers
Fold the pastry over the filling to create a triangle, pressing the edges to seal tightly. You may use a fork to crimp the edges for an appealing design while ensuring no filling escapes during baking. This is crucial for maintaining the turnover’s structure.
Step 7: Brush with egg wash
Using a brush, apply the beaten egg on top of each turnover for a shiny, golden crust. This simple step enhances the presentation and adds to the texture of the baked turnovers.
Step 8: Bake the turnovers
Preheat your oven and bake the turnovers for about 20-25 minutes until they are golden brown and puffed up. Baking at the right temperature is necessary for achieving that delicious outer crispiness while keeping the inside beautifully soft.
Step 9: Cool and serve
Remove the turnovers from the oven and let them cool slightly before serving. This cooling period allows the filling to set a little, preventing it from being too runny when you bite into them. It's the perfect moment to enjoy these treats with a dusting of powdered sugar.

Pairing Flavors: Complementing the Strawberries
When making strawberry cheesecake turnovers, consider adding complementary flavors to your filling. Ingredients like lemon zest or a hint of almond extract can elevate the taste, creating a sophisticated flavor profile. Alternatively, mix in some chopped nuts for added crunch and depth.
Serving Suggestions for Special Occasions
For an elegant dessert presentation, serve these turnovers with dollops of whipped cream or a side of vanilla ice cream. Pairing with a glass of dessert wine or coffee enhances the experience for gatherings. They can also be drizzled with chocolate or caramel sauce for an extra indulgent touch.
Making Strawberry Cheesecake Turnovers Year-Round
While strawberries are in season during the warmer months, these turnovers can be enjoyed all year round. Substitute with frozen strawberries when fresh ones aren't available. Just make sure to thaw and drain them well to avoid excessive moisture which can affect the turnover structure.
FAQs
What should I do if my strawberry filling is too thin?
If your filling is too watery, cook it on the stove over medium heat for a few minutes to evaporate excess moisture, or add a bit of cornstarch to thicken it before filling the pastries.
Can I use other fruits instead of strawberries?
Absolutely! Other berries like blueberries or raspberries work well. You can also use diced peaches or apples, adjusting sugar based on the fruit's sweetness.
Why did my turnovers not puff up?
If the turnovers do not puff, your puff pastry may not have been rolled out thin enough or your oven may not have reached the required temperature. Make sure to preheat your oven properly.
How do I prevent the filling from leaking out during baking?
Ensure that the edges are firmly sealed when crimping. Additionally, avoid overfilling the pastries, as this causes pressure that can lead to bursting.
Can I add chocolate to the filling?
Yes, incorporating mini chocolate chips can give an enjoyable flavor twist! Just balance with the sweetness by slightly reducing the sugar.
Is there a way to make them less sweet?
To reduce sweetness, decrease the amount of sugar in the filling. You might also consider omitting any sweet toppings when serving.
Conclusion
Incorporating strawberry cheesecake turnovers into your repertoire is not just about satisfying a sweet tooth; it's about creating moments of joy and indulgence. The combination of flaky pastry and creamy filling makes them a standout treat.
These turnovers are a fantastic way to showcase seasonal strawberries or experiment with various fruits. They promise to impress anyone lucky enough to indulge in them, bringing a delightful touch to your dessert table.
Recipe Card

Decadent Chocolate Thumbprint Cookies for Every Occasion
Ingredients
- 1 cup unsalted butter softened
- 1 cup granulated sugar
- 1 large egg
- 1 teaspoon vanilla extract
- 2 cups all-purpose flour
- 1/2 cup unsweetened cocoa powder
- 1/2 teaspoon baking powder
- 1/4 teaspoon salt
- 1/2 cup chocolate chips or jam for filling
Instructions
- Preheat the oven to 350°F (175°C).
- In a large bowl, cream together the softened butter and granulated sugar until light and fluffy.
- Add the egg and vanilla extract, mixing until well combined.
- In a separate bowl, whisk together the flour, cocoa powder, baking powder, and salt.
- Gradually add the dry ingredients to the wet mixture, mixing until just combined.
- Chill the dough for about 30 minutes in the refrigerator.
- Scoop tablespoon-sized portions of dough and roll them into balls.
- Place the dough balls on a baking sheet lined with parchment paper, leaving space between each.
- Use your thumb or the back of a spoon to create an indentation in the center of each dough ball.
- Fill each indentation with a small amount of chocolate chips or jam.
- Bake in the preheated oven for 10-12 minutes, or until the edges are set.
- Allow the cookies to cool on the baking sheet for about 5 minutes before transferring them to a wire rack.
- Enjoy your delicious Chocolate Thumbprint Cookies!
Notes
Additional serving suggestions: pair with a crisp salad, garlic bread, or roasted seasonal vegetables for balance.
For make-ahead, prep components separately and assemble just before heating to preserve texture.
Taste and adjust with acid (lemon/vinegar) and salt right at the end to wake up flavors.