Introduction
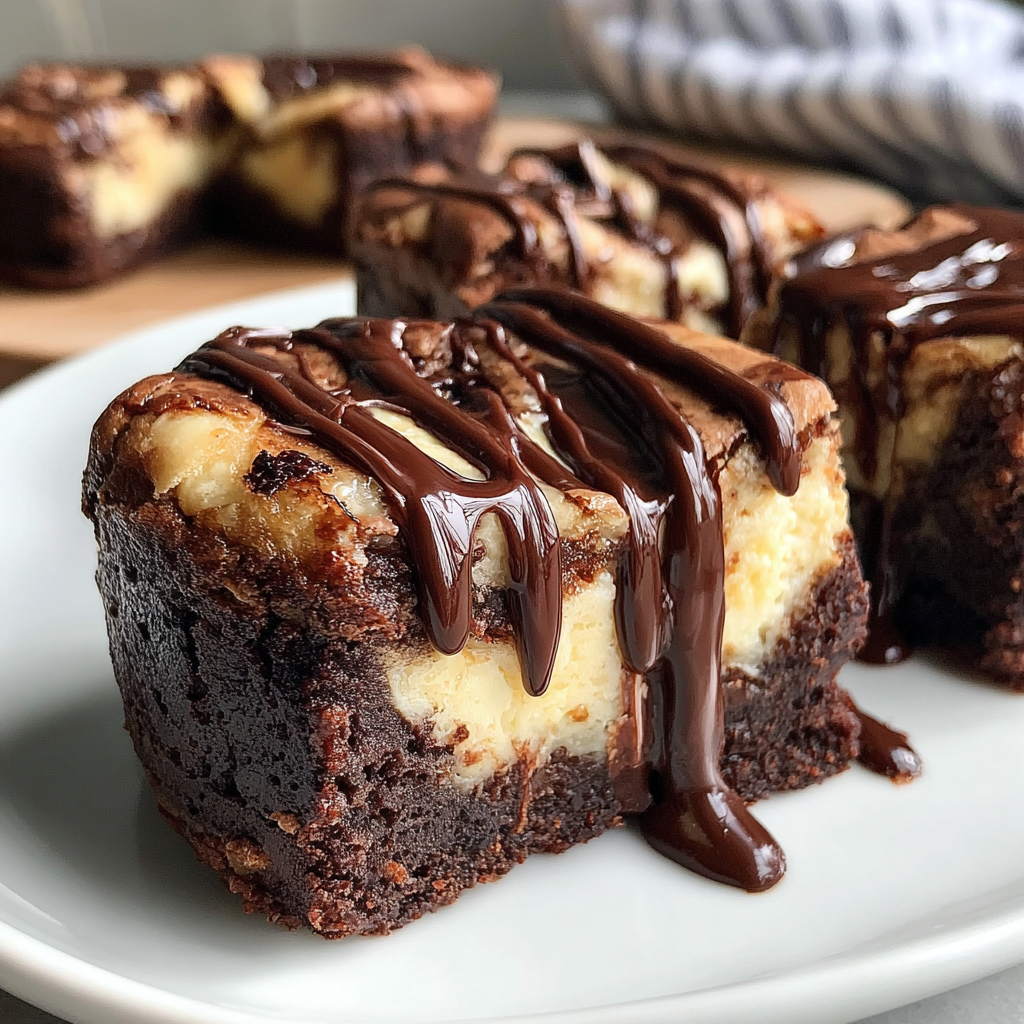
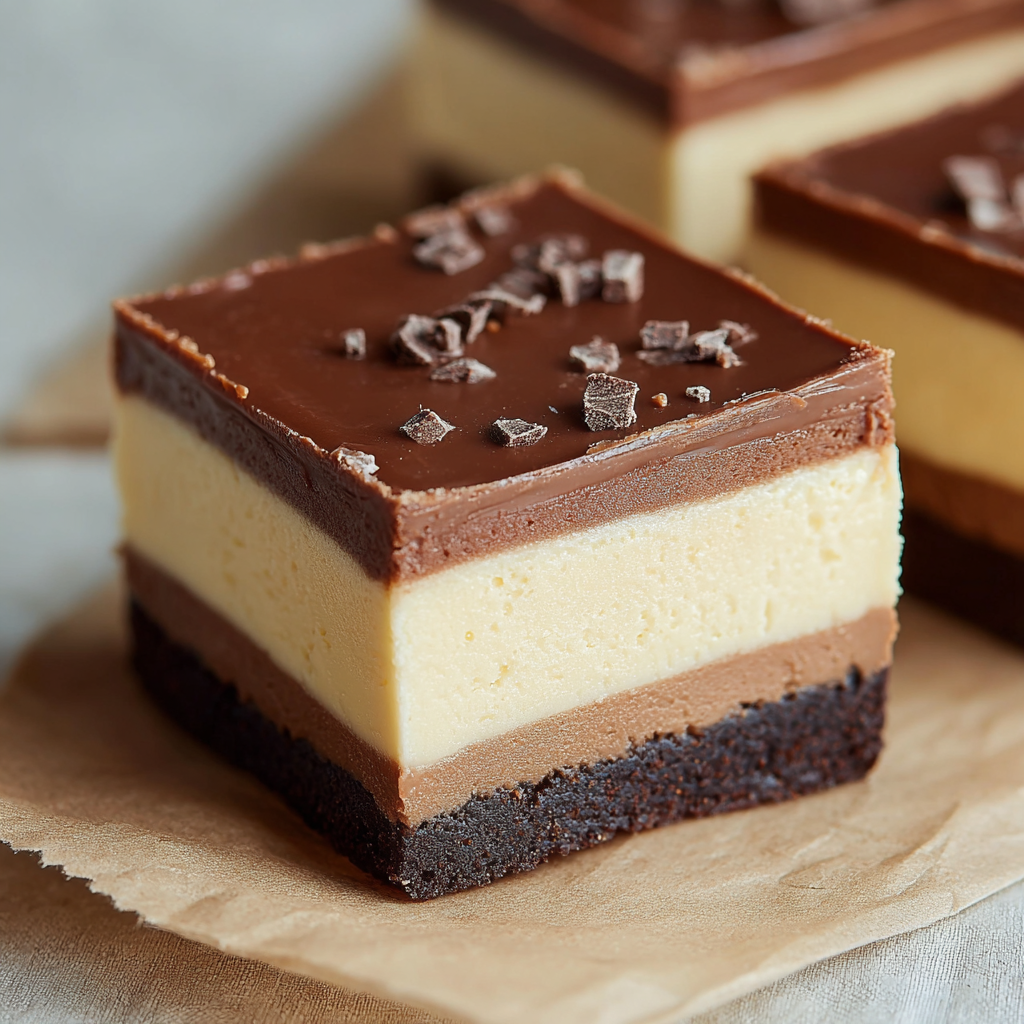
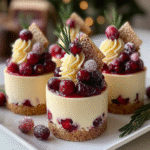
The holiday season is a time for celebration, and what better way to impress guests than with delicious, visually stunning Christmas Tree Mini Cheesecakes? These delightful desserts not only embody the spirit of Christmas with their festive design but also offer a rich, creamy texture that will have everyone coming back for seconds.
Perfect for holiday parties or family gatherings, these mini cheesecakes are easy to prepare and can even be made in advance, freeing up your time to enjoy the festivities. With a simple graham cracker crust, a smooth cheesecake filling, and a creative tree-shaped decoration, this sweet treat will brighten up your dessert table.
Ingredients
- 12 whole graham crackers, crushed
Graham crackers serve as the base for the cheesecakes, providing a sweet, slightly nutty flavor and a crunchy texture. Their unique composition also helps create a sturdy crust that holds everything together. - 5 tablespoons unsalted butter, melted
Butter is essential for binding the graham cracker crumbs together, ensuring a firm crust. It also adds richness and depth of flavor, making the base decadent and satisfying. - 2 cups cream cheese, softened
Cream cheese is the star of this recipe, providing the creamy, luscious texture that characterizes classic cheesecakes. Its mild flavor allows for the other ingredients to shine, creating a balanced dessert. - 1 cup granulated sugar
Sugar is necessary for sweetness, enhancing the overall flavor of the cheesecake. It also plays a crucial role in creating the desired texture, as it helps to stabilize the mixture when baked. - 1 teaspoon vanilla extract
Vanilla extract adds warmth and depth to the flavor profile, rounding out the sweetness of the dessert. It complements the cream cheese beautifully, enhancing the overall taste. - 3 large eggs, room temperature
Eggs act as a binding agent, providing structure to the cheesecake as it bakes. They contribute to the creamy consistency and help achieve the ideal texture. - Green candy melts, for decoration
Green candy melts are used for creating the tree shape on top of the cheesecakes. They add a fun, festive touch and a pleasing sweetness that matches the dessert. - Assorted candy decorations (like mini M&Ms, sprinkles)
These treats add color and fun to your mini cheesecakes, resembling ornaments and garlands on a Christmas tree. They allow for creativity and personalization in your presentation.
Directions & Preparation
Step 1: Preheat your oven to 325°F (163°C).
Preheating your oven ensures that the mini cheesecakes will bake evenly and achieve that perfect texture. Skipping this step can lead to uneven baking, resulting in inconsistencies in height and texture.
Step 2: Prepare the crust by mixing the crushed graham crackers and melted butter in a bowl.
Combining graham crackers with melted butter ensures that the crumbs are evenly coated, allowing for a cohesive crust. The mixture should be slightly damp and hold together when pressed, showcasing the perfect consistency for a cheesecake base.
Step 3: Divide the crust mixture among a lined muffin pan, pressing it firmly into the bottom of each cup.
Pressing the crust mixture down firmly is critical to avoid a crumbly texture when serving. A solid base will also support the cheesecake filling, ensuring stability and easy handling.
Step 4: Bake the crust in the preheated oven for 5 to 7 minutes or until slightly golden.
Baking the crust allows it to set, creating a sturdy base for the filling. This slight toasting enhances the flavor of the graham crackers and butter, contributing to the overall taste of the cheesecakes.
Step 5: While the crust bakes, beat the softened cream cheese and sugar together in a mixing bowl until smooth and creamy.
Beating the cream cheese with sugar effectively incorporates air, leading to a lighter texture. Ensuring the cream cheese is softened is crucial, as cold cream cheese can create lumps that detract from the smoothness of the filling.
Step 6: Add in the eggs one at a time, mixing well after each addition, then stir in the vanilla extract.
Incorporating eggs slowly helps to maintain the cheesecake's creamy texture. Over-mixing can lead to air pockets, which might cause cracks in the surface of the cheesecakes, so ensure each egg is fully blended before adding the next.
Step 7: Pour the cheesecake filling over the baked crust in each muffin cup, filling them about 3/4 full.
Filling the cups 3/4 of the way allows enough room for the cheesecakes to rise slightly during baking. This ensures even cooking and a pleasing presentation without overflowing.
Step 8: Bake for 20-25 minutes, or until the edges are firm but the centers still jiggle slightly.
Baking at the right temperature is crucial to avoid overcooking, which can lead to dry cheesecakes. The slight jiggle in the centers indicates that the cheesecakes will firm up as they cool down, providing the desired creamy texture.
Step 9: Remove from the oven and allow them to cool in the pan for 10 minutes, then transfer to a wire rack to cool completely.
Cooling the cheesecakes in the pan lets them set slightly further, minimizing the risk of cracks as they cool. Transferring them to a wire rack prevents moisture buildup, which can affect texture.
Step 10: Melt the green candy melts according to package instructions and drizzle over the cooled cheesecakes to form trees.
The melted candy melts should be handled carefully to achieve a smooth drizzle effect. This step creates the festive tree look, making your mini cheesecakes visually impressive and inviting to guests.
Step 11: Add candy decorations of your choice to complete the Christmas tree look.
This final touch allows you to unleash your creativity. Using assorted decorations makes each cheesecake unique and adds color and texture, enhancing both appearance and flavor.
Step 12: Refrigerate the cheesecakes for at least 2 hours before serving to allow them to firm up.
Chilling the cheesecakes is crucial, as it helps the flavors meld and the texture firm up, making them easier to cut and serve. This waiting period builds anticipation for a delicious treat.

The Perfect Crust: Balancing Texture and Flavor
The foundation of any good cheesecake lies in its crust, which combines graham crackers and buttery goodness. This balance ensures a flavor that complements the creamy filling without overpowering it. Press it down firmly for a solid base and enjoy the textural contrast this brings to the mini cheesecakes.
Decorative Details: Making Your Cheesecakes Sparkle
The fun part of these mini cheesecakes is transforming them into cute Christmas trees. Your choice of green candy melts and colorful decorations not only gives them a festive appearance but also a personal touch. Don't hesitate to experiment with different designs, creating a dessert that is as fun to look at as it is to eat.
Versatile Variations: Changing Up Flavors
While the classic cheesecake flavor is wonderful, you can easily customize these mini cheesecakes. Consider adding a layer of berry compote or peppermint extract into the filling for a seasonal twist. Adapting flavors and decorations allows you to create unique desserts that are still rooted in this charming concept.
FAQs
What if my filling is too runny?
If your cheesecake filling is too runny, it may not have been mixed properly or could need more cream cheese. Ensure all ingredients are fully blended and consider adding a bit more cream cheese to achieve a thicker consistency.
Can I substitute the cream cheese for another type of cheese?
While cream cheese provides the desired flavor and texture, mascarpone or ricotta can be decent substitutes, though they may alter the texture slightly. Adjust sugar levels accordingly if using a sweeter alternative.
How can I make the green color for the cheesecakes more vibrant?
To achieve a more vibrant green hue, consider combining two different shades of candy melts or adding a small amount of gel food coloring to the melted candy. This allows for greater customization in your decorations.
What if I overbake the mini cheesecakes?
Overbaking can lead to a dry, crumbly texture, so if this happens, ensure to monitor baking times closely next time. Better to underbake slightly since residual heat will firm up the filling.
Can I use flavored candy melts?
Yes, flavored candy melts can add an interesting twist to your mini cheesecakes. Experiment with different flavors like chocolate or butterscotch to create a unique dessert experience.
What if I want a lower sugar option?
For a lower sugar version, consider using a sugar substitute or reducing the amount of sugar in the filling. Just be mindful that this can affect the overall taste and texture.
Conclusion
These Christmas Tree Mini Cheesecakes are not only a visual feast but also a delightful treat that everyone will love. By balancing flavors and textures, you can create a dessert that perfectly encapsulates the joy of the holiday season.
With endless opportunities for personal touches and variations, you’ll surely impress your guests while satisfying sweet cravings. Enjoy sharing these festive delights with your friends and family this holiday season.
Recipe Card
Festive Christmas Tree Mini Cheesecakes for Holidays
Ingredients
- 12 whole graham crackers crushed
- 5 tablespoons unsalted butter melted
- 2 cups cream cheese softened
- 1 cup granulated sugar
- 1 teaspoon vanilla extract
- 3 large eggs room temperature
- Green candy melts for decoration
- Assorted candy decorations like mini M&Ms, sprinkles
Instructions
- Preheat your oven to 325°F (163°C).
- Prepare the crust by mixing the crushed graham crackers and melted butter in a bowl.
- Divide the crust mixture among a lined muffin pan, pressing it firmly into the bottom of each cup.
- Bake the crust in the preheated oven for 5 to 7 minutes or until slightly golden.
- While the crust bakes, beat the softened cream cheese and sugar together in a mixing bowl until smooth and creamy.
- Add in the eggs one at a time, mixing well after each addition, then stir in the vanilla extract.
- Pour the cheesecake filling over the baked crust in each muffin cup, filling them about 3/4 full.
- Bake for 20-25 minutes, or until the edges are firm but the centers still jiggle slightly.
- Remove from the oven and allow them to cool in the pan for 10 minutes, then transfer to a wire rack to cool completely.
- Melt the green candy melts according to package instructions and drizzle over the cooled cheesecakes to form trees.
- Add candy decorations of your choice to complete the Christmas tree look.
- Refrigerate the cheesecakes for at least 2 hours before serving to allow them to firm up.
Notes
Additional serving suggestions: pair with a crisp salad, garlic bread, or roasted seasonal vegetables for balance.
For make-ahead, prep components separately and assemble just before heating to preserve texture.
Taste and adjust with acid (lemon/vinegar) and salt right at the end to wake up flavors.