Introduction
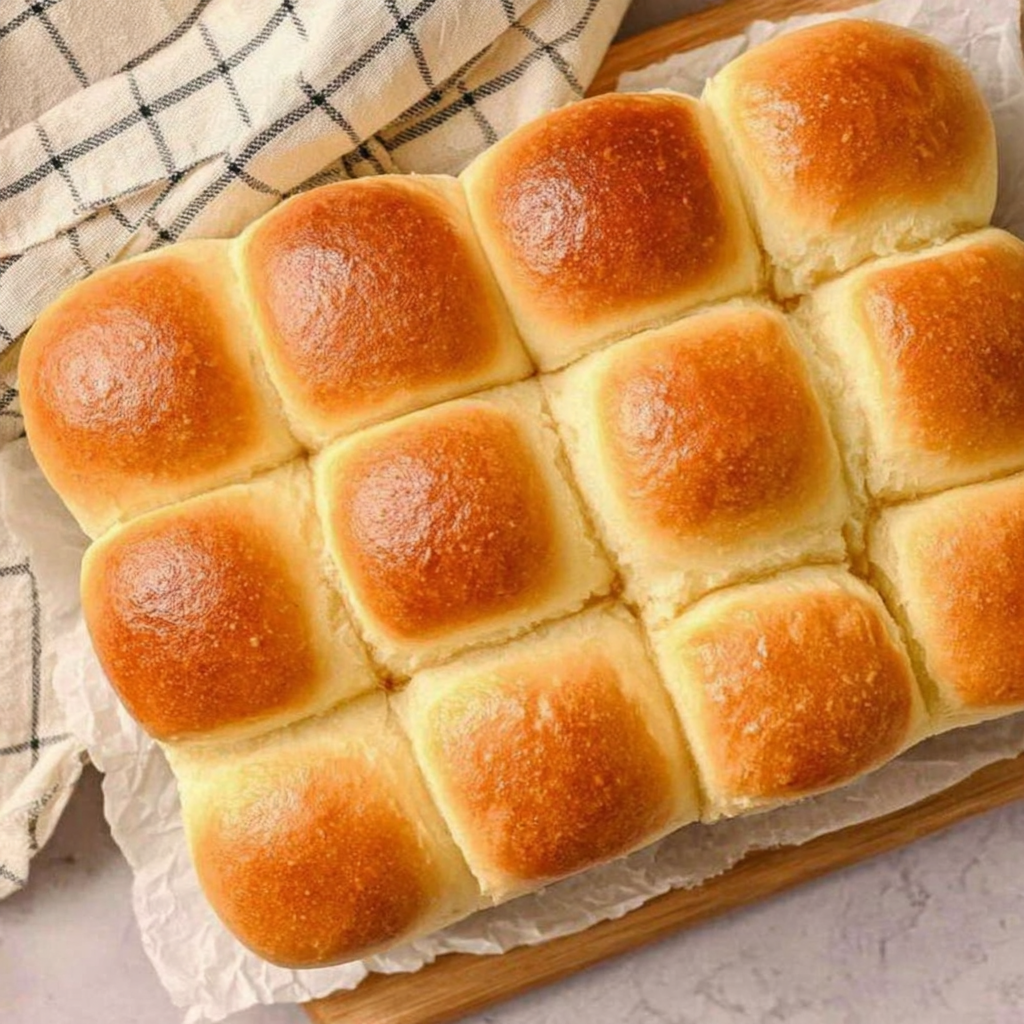
There’s something magical about the aroma of fresh bread rolls baking in the oven. Fluffy bread rolls can elevate any meal, bringing warmth and comfort to the dining table. Whether enjoyed with butter, served alongside your favorite soup, or used to mop up gravy, these rolls are a versatile staple every home cook should master.
Creating bread rolls at home might seem daunting, but with the right technique, it becomes a rewarding experience. The joy of watching your dough rise and the anticipation of the first warm roll fresh from the oven is a culinary delight. In this article, we'll walk through creating light, tender rolls that impress family and friends alike.
Ingredients
- 4 cups all-purpose flour
All-purpose flour provides the structure for the bread rolls. The gluten protein in the flour develops when mixed with liquid and kneaded, creating a chewy texture, which is essential for fluffy rolls. - 2 packets active dry yeast (4 1/2 teaspoons)
Yeast is a leavening agent that causes the dough to rise. Active dry yeast requires activation in warm water, producing carbon dioxide bubbles that help create the light texture desired in fluffy bread rolls. - 1/4 cup granulated sugar
Sugar not only adds sweetness but also feeds the yeast, helping it to grow and ferment. It contributes to the overall flavor and golden-brown color of the rolls when baked. - 1 1/2 teaspoons salt
Salt enhances the flavor of the rolls and regulates yeast activity, ensuring a balanced rise. It’s crucial for developing the rolls' taste without overpowering the other ingredients. - 1 1/2 cups warm milk (110°F to 115°F)
Warm milk acts as a hydrating agent and helps activate the yeast. It also adds richness to the rolls, resulting in a tender crumb and enriched flavor. - 1/4 cup unsalted butter, melted
Butter adds flavor and moisture to the rolls, leading to a richer, softer texture. The fat in butter also enhances the rolls' overall tenderness. - 1 large egg
Eggs bind the ingredients together and contribute to the roll's structure. They're also essential for providing flavor and a shiny top if brushed before baking.
Directions & Preparation
Step 1: Activate the yeast by combining warm milk and sugar in a bowl.
Start by mixing 1 1/2 cups of warm milk with 1/4 cup of granulated sugar in a bowl. Sprinkle the yeast over the milk and let it sit for about 5-10 minutes until it becomes frothy. This process proves that the yeast is active and ensures your rolls will rise properly.
Step 2: Combine the melted butter, egg, and yeast mixture.
In a large mixing bowl, combine the melted butter, the egg, and the frothy yeast mixture. Stir to integrate the ingredients. This step not only incorporates the leavening agent but also enriches the dough while ensuring even distribution of flavor.
Step 3: Gradually add the flour and salt to form a dough.
Begin adding 4 cups of all-purpose flour and 1 1/2 teaspoons of salt, one cup at a time. Use a wooden spoon or a dough hook attachment if using a mixer. Mixing gradually allows the flour to incorporate seamlessly, helping achieve a smooth, elastic dough.
Step 4: Knead the dough until smooth and elastic.
Turn the dough out onto a floured surface and knead for about 8-10 minutes until it is smooth and elastic. Kneading develops the gluten that gives the rolls their structure while ensuring an airy texture. You can also use a stand mixer for this step.
Step 5: Let the dough rise until doubled in size.
Place the kneaded dough in a greased bowl, cover it with a damp cloth or plastic wrap, and let it rise in a warm place for about 1 to 1.5 hours. This step is crucial as the yeast ferments, creating air pockets that will give your rolls their fluffy, light quality.
Step 6: Preheat the oven to 375°F (190°C).
While the dough is rising, preheat your oven to the appropriate temperature. A hot oven ensures that your bread rolls will rise quickly before the crust sets, leading to a fluffy interior.
Step 7: Shape the rolls and place them in a baking dish.
Once the dough has risen, punch it down gently to release air, then divide it into equal pieces (about 12). Shape each piece into a ball and arrange them in a greased baking dish or on a lined baking sheet. Ensuring gentle handling during shaping prevents deflation, maintaining the desired lightness.
Step 8: Let the shaped rolls rise again for about 30 minutes.
Cover the shaped rolls with a cloth and let them rise for another 30 minutes. This second rise will provide additional fluffiness, allowing the rolls to expand nicely in the oven.
Step 9: Brush the tops with melted butter before baking.
Before baking, brush the tops of the rolls with melted butter for added flavor and a beautiful golden-brown finish. This not only enhances the appearance but also contributes to a slightly rich flavor that pairs perfectly with the softness of the rolls.
Step 10: Bake the rolls for 15-20 minutes until golden.
Bake in the preheated oven for 15-20 minutes or until the tops are golden brown and the rolls sound hollow when tapped. Ensure to monitor them closely in the last few minutes to avoid overbaking, which can dry out the rolls.
Step 11: Cool and enjoy your fluffy bread rolls!
Once baked, allow the rolls to cool in the pan for a few minutes before transferring them to a wire rack. Serving them warm enhances the experience, as the fluffy texture and rich aroma bring comfort and joy to your meal.

The Importance of Kneading for Fluffiness
Kneading the dough is a crucial step in making fluffy bread rolls. This process develops the gluten within the flour, which provides structure and elasticity to the bread. A well-kneaded dough can rise significantly, trapping air bubbles and expanding during baking. Insufficient kneading may result in denser rolls, while over-kneading can cause toughness. Finding the right balance is key to achieving that light and airy texture.
Choosing the Right Flour Matters
Flour selection is vital for achieving fluffy rolls. All-purpose flour is a versatile choice that strikes a balance between protein content and stretchability. Higher protein flours can lead to chewier bread, while lower protein can yield drier results. Always measure flour precisely, as too much can weigh down the dough, impacting its rise. Investing in high-quality flour ensures the best results for your homemade rolls.
Enhancing Flavor with Simple Additions
While these fluffy bread rolls are delightful on their own, experimenting with flavor additions can elevate them further. Consider incorporating herbs, garlic powder, or even cheese into the dough. Mixing in a tablespoon of dried herbs or grated cheese can transform the rolls into a flavor-packed side that complements any meal beautifully. Such enhancements can tailor the rolls to suit specific cuisines or personal preferences.
FAQs
What if my bread rolls turn out dense?
Dense rolls may result from over-kneading or insufficient rising time. Ensure proper kneading to develop gluten, and give the dough ample time to rise.
Can I scale the recipe down for fewer rolls?
Yes, you can easily scale down the recipe. Divide each ingredient by two or three to create a smaller batch while maintaining the same ratios.
How can I make sure my rolls are evenly baked?
To ensure even baking, make sure the rolls are evenly spaced in the baking dish. Also, rotate the dish halfway through to promote uniform heat distribution.
What if my dough feels too sticky?
If the dough is too sticky to work with, gradually add small amounts of flour while kneading until it reaches a manageable consistency, but be careful not to add too much.
Can I add ingredients like cheese to the rolls?
Yes, shredded cheese can be mixed into the dough or placed in the center of the rolls before shaping to add flavor and richness.
How can I tell when the rolls are done baking?
The rolls are done when they are golden brown and sound hollow when tapped on the bottom. An internal temperature of around 190°F indicates they are fully baked.
Conclusion
Fluffy bread rolls are not just a side dish; they can be a delightful centerpiece for any meal. The process may take time, but the results are undeniably rewarding. With practice, you'll master the art of making these tasty treats, bringing joy and satisfaction to your kitchen.
So, gather your ingredients, roll up your sleeves, and enjoy the delightful process of creating your own fluffy bread rolls. Each bite will remind you of the simple pleasures that come from home baking, transforming ordinary meals into extraordinary ones.
Recipe Card

Fall-Inspired Pumpkin Muffins to Delight Your Senses
Ingredients
- 1 cup pumpkin puree
- 2 cups all-purpose flour
- 1 cup sugar
- 1/2 cup brown sugar
- 1/2 cup vegetable oil
- 2 large eggs
- 1 tsp baking soda
- 1 tsp baking powder
- 1 tsp cinnamon
- 1/2 tsp nutmeg
- 1/2 tsp salt
- 1/2 cup chopped walnuts or pecans optional
Instructions
- Preheat your oven to 350°F (175°C) and prepare a muffin tin.
- In a large bowl, mix together pumpkin puree, oil, sugar, and brown sugar.
- Add eggs to the mixture and stir until well combined.
- In a separate bowl, whisk together flour, baking soda, baking powder, salt, and spices.
- Gradually add the dry ingredients to the wet mixture, stirring until just combined.
- If using, fold in chopped nuts gently into the batter.
- Scoop the batter into the prepared muffin tin, filling each cup about two-thirds full.
- Bake in the preheated oven for 18-20 minutes or until a toothpick comes out clean.
- Allow muffins to cool in the tin for a few minutes before transferring to a wire rack to cool completely.
Notes
Additional serving suggestions: pair with a crisp salad, garlic bread, or roasted seasonal vegetables for balance.
For make-ahead, prep components separately and assemble just before heating to preserve texture.
Taste and adjust with acid (lemon/vinegar) and salt right at the end to wake up flavors.